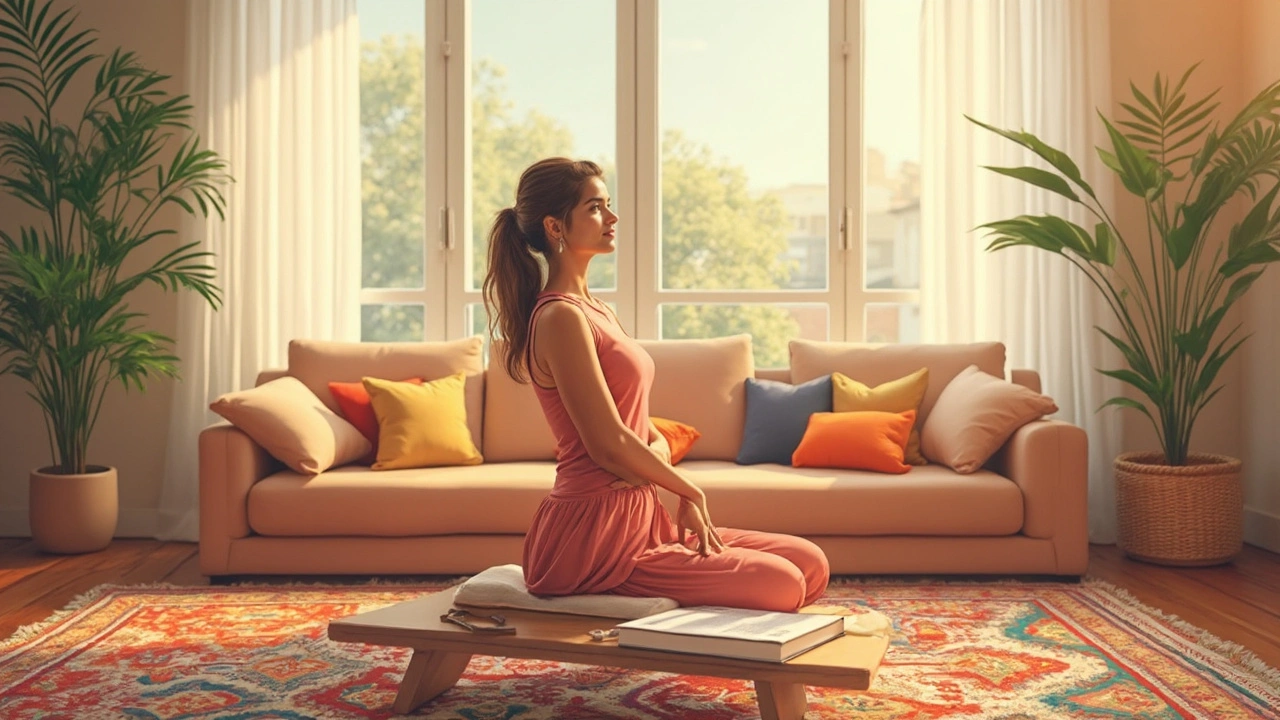
Stressed out after a long workday? Got stiff shoulders, tight legs, or just need a break to reset your body and mind? Thai massage has a big reputation for easing tension and boosting flexibility—without needing to head to a fancy spa. If you think you need loads of training to try it, think again. The secret? A handful of basic techniques you can pull off right in your living room, solo or with a partner.
This isn’t about twisting yourself into a pretzel or mimicking those wild stretches you’ve seen in viral videos. Thai massage is all about using gentle pressure, simple stretches, and body weight to melt away tension. Whether you’re chasing better sleep, sore-muscle relief, or just some peaceful downtime, you’ll find at least one technique here that fits your mood.
You’ll want comfy clothes (think gym wear—nothing fancy), a yoga mat or soft rug, and maybe a buddy if you want to try some partner moves. You don’t need massage oil—that’s more of a Western thing. With a little patience, you can turn these old-school techniques into your new favorite self-care habit.
- Key Takeaways
- Direct Answer: Top Thai Massage Moves
- Why Try Thai Massage at Home?
- How Each Technique Works
- Safety Tips for DIY Thai Massage
- FAQ: Home Thai Massage Basics
Key Takeaways
- You don't need to be a pro to get started—these Thai massage techniques are beginner-friendly and safe for home use.
- Thai massage focuses on stretching, rhythmic pressure, and using your body weight to ease muscle tension and boost flexibility.
- No oils or fancy gear required. All you need is comfy clothes, a mat or soft carpet, and maybe a partner for some moves.
- Regular practice can help with back pain, tight shoulders, stress, and even help you sleep better at night.
- Staying safe means listening to your body and steering clear of moves that feel too intense or cause discomfort. Never push into pain.
- Doing just a few minutes a day makes a real difference—you don’t have to carve out a whole hour to see benefits.
These takeaways make it easy for anyone to jump in and start reaping the rewards, right at home.
Direct Answer: Top Thai Massage Moves
If you want the meat and potatoes of this whole thing, here’s the deal: These five thai massage moves are easy for beginners, safe to do at home, and don’t need special skills. They focus on pressure points, stretching, and gentle movement—think pain relief and flexibility without the stress.
- Shoulder Press
Use both thumbs to press down lightly on the top of your shoulders. Move an inch at a time, working from your neck out toward your arms. This helps knock out knots that build up from screen time or driving. Hold and release each spot for a slow count of three. - Foot Rolling
Sit down, prop up one foot, and use your knuckles or a tennis ball to roll from heel to toe. Go slow and add a little extra pressure on any sore spots. This one’s a lifesaver if you stand around a lot during the day. - Cat Stretch
Lie on your back, pull your knees up, and gently rock side to side. Next, hug your knees with your arms for a deeper lower back stretch. Partners can help by lightly pressing your knees toward your chest. Great for anyone with lower back stiffness. - Forearm Glide
Make a soft fist and gently knead up and down your thighs or arms with your forearm. This move wakes up your circulation and can even help if you feel achy after a workout. - Seated Spinal Twist
Sit with one leg out, the other bent and crossed over. Hug your bent knee and twist your body gently toward it. Take a few breaths, then swap sides. A classic move for loosening your lower back and improving your range of motion.
| Technique | Main Benefit | Where to Use |
|---|---|---|
| Shoulder Press | Releases shoulder and neck tension | Sitting or lying down |
| Foot Rolling | Relieves foot fatigue | Sitting |
| Cat Stretch | Stretches lower back | On the floor |
| Forearm Glide | Boosts circulation | Arms & legs |
| Seated Spinal Twist | Improves flexibility | Sitting on the floor |
Keep it simple—about five minutes per move is enough. And remember, these are just a taste of what Thai massage can do. You’ll feel refreshed, more flexible, and ready to take on the rest of your day.
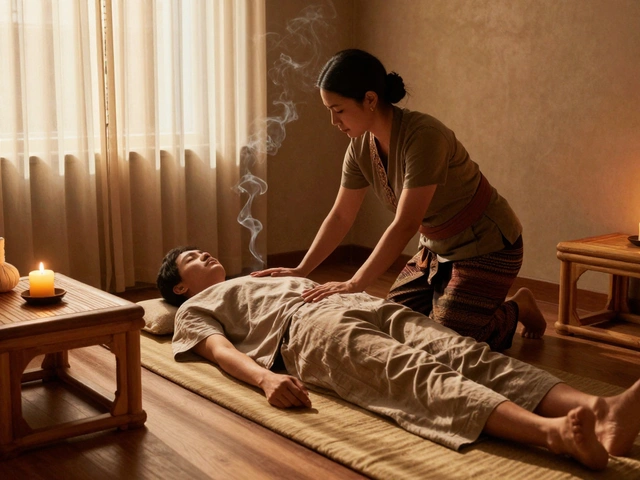
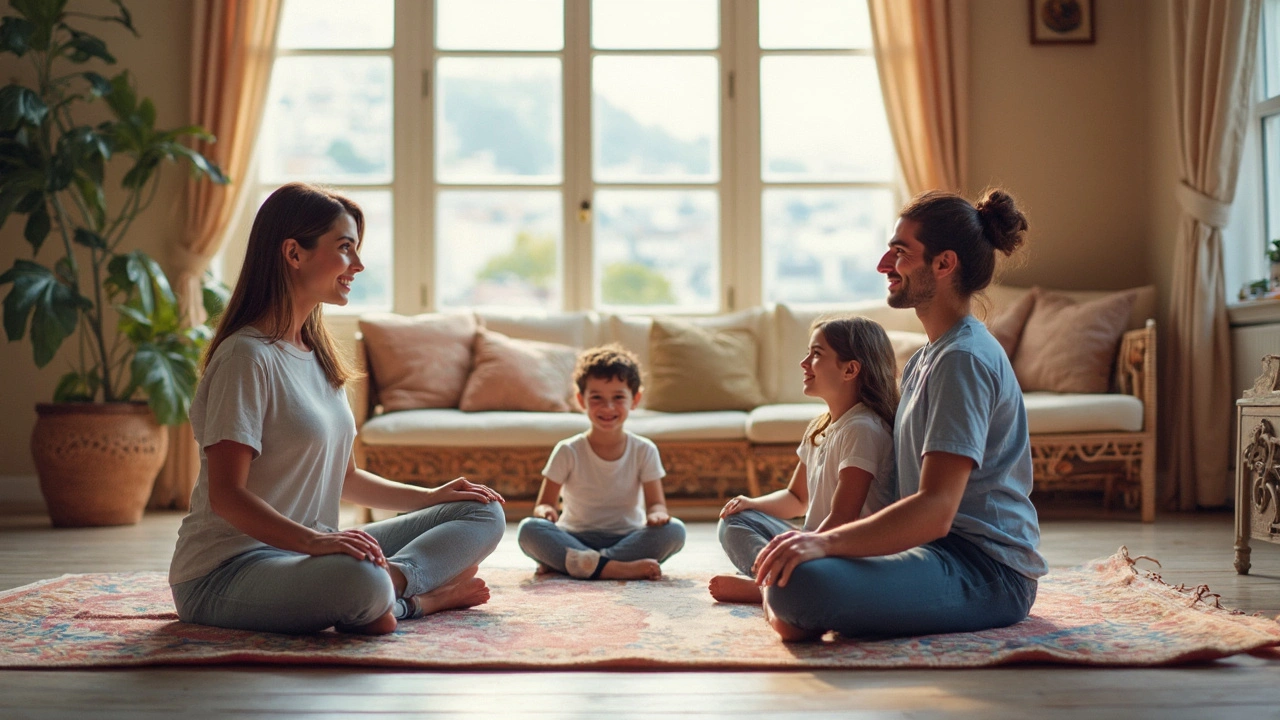
Why Try Thai Massage at Home?
Everyone loves getting a massage after a crazy day, but let's be honest—booking appointments, driving, and paying for a full session can be a pain. Doing thai massage at home skips the hassle, saves cash, and you actually control the vibe. You pick the playlist, set the lighting, and don’t have to deal with awkward small talk. Plus, you get to press pause whenever you want.
Thai massage isn't just a trend. It's been around for over 2,500 years. Unlike classic oil massages, it uses stretches and gentle pressure—no slippery mess, just loosening up stiff muscles and joints. A study done in 2022 found that people who tried simple Thai stretching moves three times a week cut their back pain by 40% in a month. That’s a big deal if you sit at a desk or haul groceries all week.
- Cost Saver: One session at a spa can run $60-$120. Doing it at home? Free, once you learn the basics.
- Fits Your Schedule: Squeeze in a 10-minute foot massage while watching TV or do a full routine before bed. No need to block out half a day.
- Custom Comfort: Focus longer on your sore spots. Go as gentle or firm as you need—nobody knows your body better than you.
Think of home sessions as an investment in your health. Less stress, better flexibility, and improved sleep are all up for grabs—and you don’t even have to leave your living room.
| Factor | Spa Session | At-Home Thai Massage |
|---|---|---|
| Cost per session | $60-$120 | Free |
| Flexibility | Limited to appointment slots | Anytime you want |
| Privacy | With practitioner | Totally private |
| Personal Comfort | Standard, spa-controlled | You control everything |
So if you’re craving a reset but can’t or don’t want to run to a spa, home Thai massage is a legit way to recharge and take care of your body—anytime you feel like it.
How Each Technique Works
So, how do you actually pull off Thai massage at home without messing it up or hurting yourself? It’s simple if you stick to these classic moves. Here’s a practical breakdown of the top techniques you can try with no special gear or experience required.
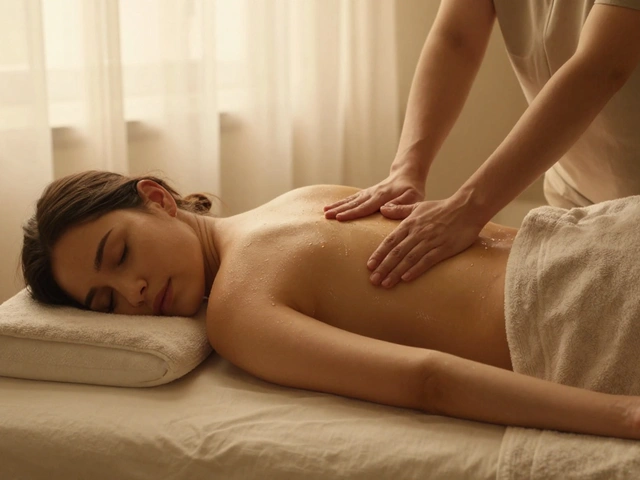
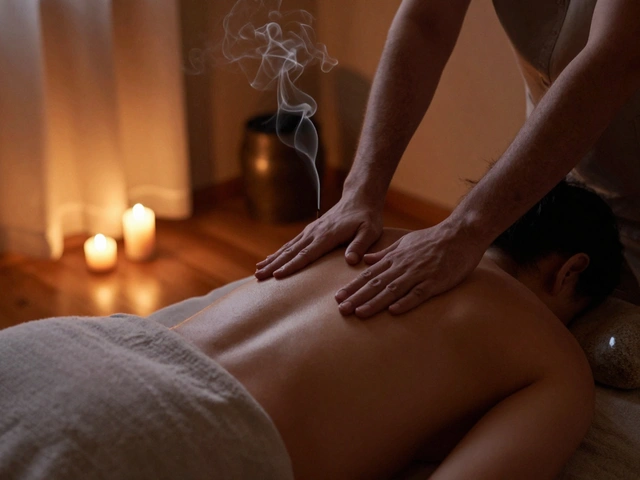
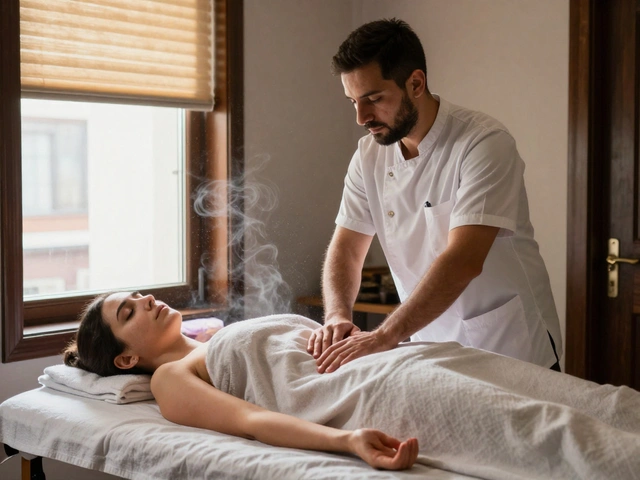
- Palming and Thumb Pressing: These moves are at the heart of Thai massage. Use the flat part of your palm to press gently along the arms, legs, or back, following the muscles, not the bones. Then, use your thumbs to press down a little deeper on any tight spots. Move slowly, never rush. This helps warm up muscles and encourages blood flow—all handy if you’re sitting at a computer all day.
- Sen Line Massage: Thai tradition teaches that energy flows through lines in your body called "sen" lines. You don’t need to memorize them—just know that massaging along the sides of your thighs, calves, or arms covers most of the basics. Use your palms or thumbs to gently press along these lines, from the feet up toward the heart. This is great for a tired body and for waking up those stiff legs.
- Yoga-Style Stretches: This is where Thai massage stands out. For a super easy stretch, try the "Spinal Twist." Lie on your back, pull one knee across your body with your opposite hand, and breathe deeply for 10–20 seconds. If you’re working with a partner, you can try the "Cobra Stretch." Have your buddy lie face down, gently lift their upper body while supporting their shoulders. Don’t yank or force it—comfort is key.
- Foot Massage: Grab one foot, use both hands to squeeze and press up the sole using your thumbs. Work from the heel to the toes, then circle around the ankle. This simple trick is shockingly relaxing after a day on your feet. If you’re into details, Thai massage experts often finish with a few toe squeezes or gentle ankle rotations.
- Neck and Shoulder Release: Sit cross-legged, relax your shoulders. Use your fingertips to knead the base of your skull and down both sides of the neck. For shoulders, press your fingertips or knuckles into tight spots with small circles. People love this for headaches or tech-neck from staring at screens.
Remember, you don’t need to power through these moves. Thai massage works best with slow, steady pressure—think more zen, less gym workout. Practicing these thai massage techniques once or twice a week will help you notice real changes in how your body feels. Make each session your own, and if something feels wrong, stop and adjust. Your body knows best.
Safety Tips for DIY Thai Massage
Trying Thai massage at home can be awesome, but safety comes first. Nothing ruins a relaxing session faster than a pulled muscle or a sore joint the next day. Here’s how to stay smart while giving yourself—or someone else—a massage.
- Thai massage isn’t supposed to hurt. If you feel sharp pain or weird tingling, just stop. Listen to your body: a little discomfort is normal for tight muscles, but pain is a signal to ease off.
- Always warm up. Give your body a few minutes with some light stretches. This gets blood flowing and helps prevent injuries.
- Skip any big moves if you’ve got injuries, back problems, or are pregnant. Thai massage involves stretching and pressure that might not be safe in these cases. When in doubt, ask a doctor first.
- Use a soft surface. You don’t need a professional mat, but thick carpeting or a yoga mat will help protect your back and knees.
- If you’re working with a partner, check in often. Ask how the pressure feels. Everyone’s pain tolerance is different, so better to ask than guess.
- Stay hydrated. Massage moves fluids around in your body, and you might get thirsty after. Drink some water before and after your session.
- If you ever feel dizzy, lightheaded, or weirdly tired, just stop. These can be signs your body isn’t loving what you’re doing.
One last thing—be patient. Go slowly with all the techniques, especially if you’re new. You don’t need to nail it perfectly for it to help. The whole point is to feel better, not beat yourself up. Give yourself permission to take it easy and enjoy the process.
FAQ: Home Thai Massage Basics
Thinking about trying thai massage at home but got some questions first? You’re not alone! Here’s what people ask most often before rolling out their mats.
1. Can I really do Thai massage at home without any training?
Yep! You don’t need a fancy certificate or years of practice to do the basics. Stick to simple stretches and gentle pressing as shown in video tutorials or this guide. Leave the more advanced stuff—like deep twists and lifts—to the pros for safety.
2. What do I need for a home Thai massage session?
- A yoga mat or a soft rug to protect your joints
- Loose, comfy clothes (no oils needed)
- A little space to move around—think the size of a yoga mat
- Optional: a friend or family member for partner stretches
3. How long should I spend on each technique?
Start with 2–5 minutes per move, especially if you’re new. Listen to your body. If you hit a spot that feels great, linger a bit. If it feels off, move on.
4. Can I do Thai massage on myself?
Absolutely! While some moves are easier with a partner, self-massage is totally doable. Focus on your feet, calves, arms, and shoulders. Use your hands, fists, and even elbows for different kinds of pressure.
5. What are some common mistakes to avoid?
- Pushing too hard—Thai massage is about slow, steady pressure, not force
- Skipping warm-up—light movement helps your muscles relax before stretching
- Ignoring pain—if something hurts, stop and adjust
- Doing advanced stretches alone—it’s not worth the risk
6. Is Thai massage safe for everyone?
If you’ve got any chronic injuries, joint issues, or health conditions (think herniated discs, pregnancy, or heart problems), talk to your doctor first. For most healthy adults, the simple home techniques are low-risk.
7. How often can I practice Thai massage at home?
2–3 times a week is a good start. As your body gets used to the routine, you can bump it up if it feels good.
Still unsure or want to take it to the next level? There are classes and online workshops out there, but sticking with these basics already makes a big difference. Just go at your own pace and have fun with it!